Monday, November 1, 2010

Good Sam Hospital - Master Millworks

 Good Samaritan Hospital - Puyallup, WA / Master Millworks
The first day I got there we had to erect two cutting tents inside the hospital.  The cutting room had been in the gift shop but was moved outside of the gift shop into this tent.  To take this picture I'm standing in the Starbucks coffee area we also finished.
These walls are outside of every elevator.  I helped with the walls outside of 5th floor elevators.
 
To the left of this picture is another tent we put up.  The wall on the fire place was being readied for panels.
Crown molding, one of my specialties, in the Starbucks shop.
This was taken on the fourth floor looking out at the Puyallup Fair Grounds.
Here's a cloth stick pin white board I put up with Cyrus, the trim is maple.

I worked with one of the carpenters that put this unit in.
All of the panels in each Hospital room were bamboo.

Jim and I put these three panels up in a nurses station in the E.R.

Here's the outside view of the Nurses station.  I was really impressed with the quality Master Millwork's cabinets and stations were.  All of the surface area in each Nurses station and patient rooms is Corian.

Monday, October 25, 2010

OSHA 10 Card

Right now with little to no work out there it's been a good time to get certification for different areas in the Carpentry field.
Before I joined the Carpenter's Union, Local 470, I worked for a non-union company that thought they had a good safety program.  Their program couldn't even be called a safety program compared to the classes through the Union and Union companies that give their workers hours upon hours of safety classes.

This coming weekend I'll be attending "Best practices in Health Care" in Mukilteo for an additional certification.  Nobody trains like the Union.

Monday, October 18, 2010

Crown Molding

A good friend had helped build this kitchen addition onto a home and, after the cabinets were up, the homeowner wanted Crown Molding to finish it.

The molding had been purchased but was a bit short by a half an inch so my friend as me to see what could be done and if I'd be willing to do it.  I suggested bringing the ceiling down, so to speak, but placing 1x4 above the cabinets and then trimming the top.


If fit well and was a real pleasure to work with wood again.  A lot of things today aren't real wood but this Crown molding was maple and a pleasure to work with.
The homeowner aloud me to take these other pictures too so my wife could see the kitchen.


Monday, September 13, 2010

Studio Console

After moving into a rental home I was determined to put my studio back together.  I couldn't put it together in a fixed console I'd have to take out when we moved so I had to come up with something portable.
It took me a month or so to draw up the plans because once it's built it's built and there's nothing you can do to change it.
I wanted something functional and at the same time pleasant to look at.  I bought 3/4 inch Oak plywood trimmed it with solid white Oak.
Certain areas would be hidden because of the way it sits so I didn't labor over every area of each section to make sure it was perfect.  At the time I was needing to get it built so I could start recording.
This is the left section which houses all the electronics such as the sound board, ADAT, QSR sound module and so on.  I knew there would be something I'd miss or needed to do but again I didn't let it bother me.  If I build another one I'll add a small door on the side to make it easier to plug wires in from the back of each sound module.
The right side of the console houses paperwork and CD material while this side, the left, is for electronics.  Each is angled so they site apart with a plywood, oak trimmed board laying across and over my electric piano.
The Oak plywood with Meranti and white Oak trim holds my two computer screens very well over the piano.
Right side of the console above and below pictures.
Left side of console with all the gear, below picture.

Right side again houses paperwork and computer.
If I were to build this for someone it could be to their specifications and I estimate it's worth to be $750.00.

Friday, September 3, 2010

Gibson Door and Millwork

For about a month or so I had been going into the Union hall from 7 - 9am with the hope of a Job calling in requesting a carpenter.  
Friday I decided to bring my camera and take pictures of some of the old tools in the displays.
I was able to take some pictures and after the office was opened the word was given that Gibson Door and Millwork needed an apprentice to help tape plastic over windows on a job site.  So, off I went.
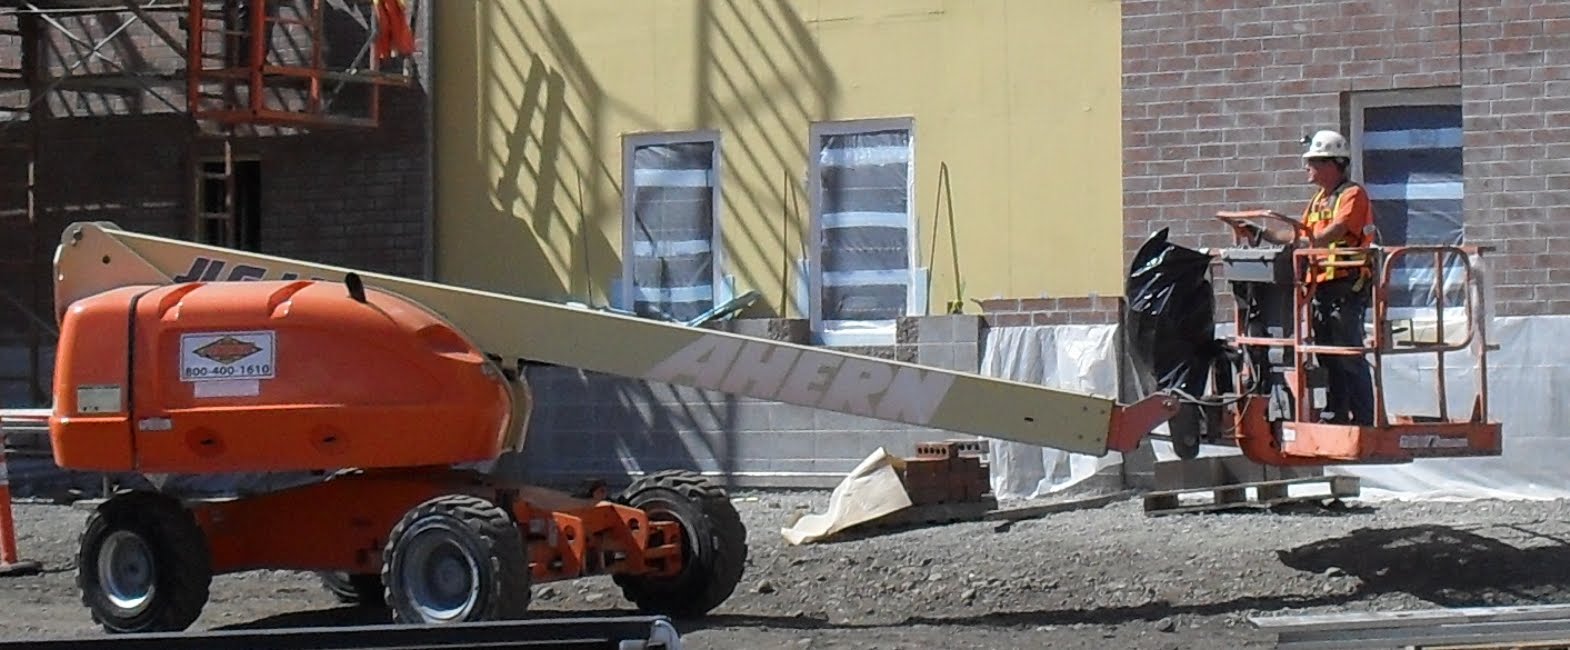
The first thing on the site was for me and Gary, the Foreman, to be trained on the Boom lift.  At that point I couldn't explain my fear of heights, or vertigo, because I needed the work.  
After doing some windows on the 1st floor Gary got on the Boom lift and I rounded up material to start the second and third floor.
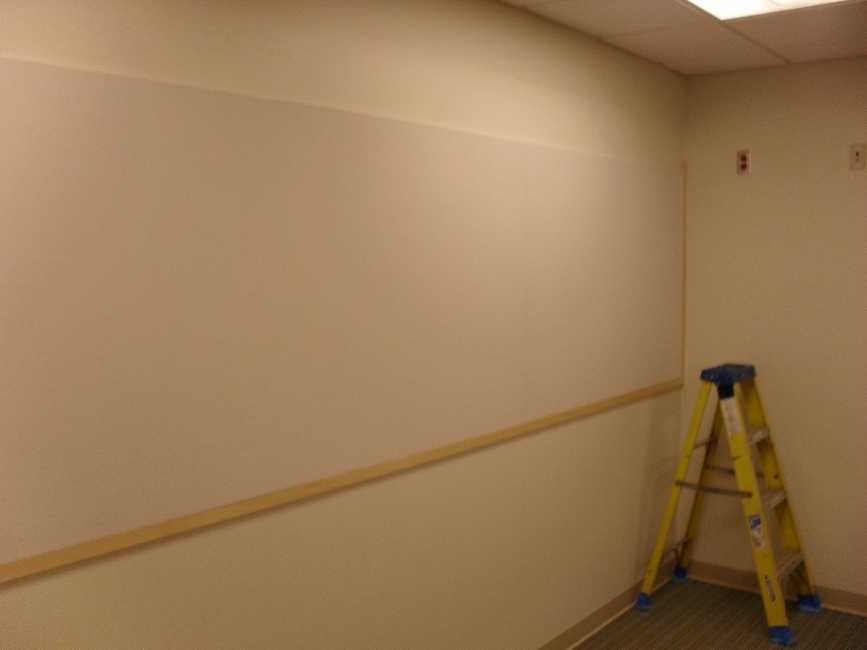
After all we had to go through with passes to get on the base, get our safety card for the boom and then actually do work all the windows you see taped were as much as we could do the first day.
The following day, as you can see, tape came off of many windows and some of the plastic and tape came off entirely.
Day two it was time to go to the highest point and I wasn't looking forward to it.  But, like I said, I needed the job.
So it was up.
Up,
way up,
and away up.  For some reason it wasn't too bad.  The weather was perfect and there was no breeze.  I handled it very well I think.  Gary could sense my nervousness and was understanding, being that it was my first time on the boom that high.  I also drove the boom the second day and placed us at quite a few windows too.

The third day there it rained and we couldn't use the boom, so we had to do windows from inside.  We discovered that it was not only easier but faster doing it that way.  That day we did about 40 or 50 windows, which, I'm sure we couldn't have with the boom.
In the morning on the last day Gary and I got on base earlier and went to a different job site Gibson Door was installing door frames.  We grabbed about 8 door frames with concrete poured around the jams and placed them were they needed to go for Octovio, cleaned up the staging area and then went back to the other site.
After doing all the forth floor window openings it was time for us to climb up the rigging the Mason's had going and seal off the ends of the buildings.  
However, after it being explained that we would have to climb without our safety rigging on and not tie off to anything I realized that falling 4 stories wasn't worth the fear I'd have just trying to climb up.  Let alone doing the work and then climbing down.  Gary was great about it and realized my fear would only get in the way.  It was really a one man job anyway so he sent me off to do as much of the rest of the windows from the inside while he climbed up this rigging and did the side window.